Welcome to SFAAA & Fox Observatory
Fox Observatory is located
in Markham park,
Sunrise, FL 33326
Map & Address >
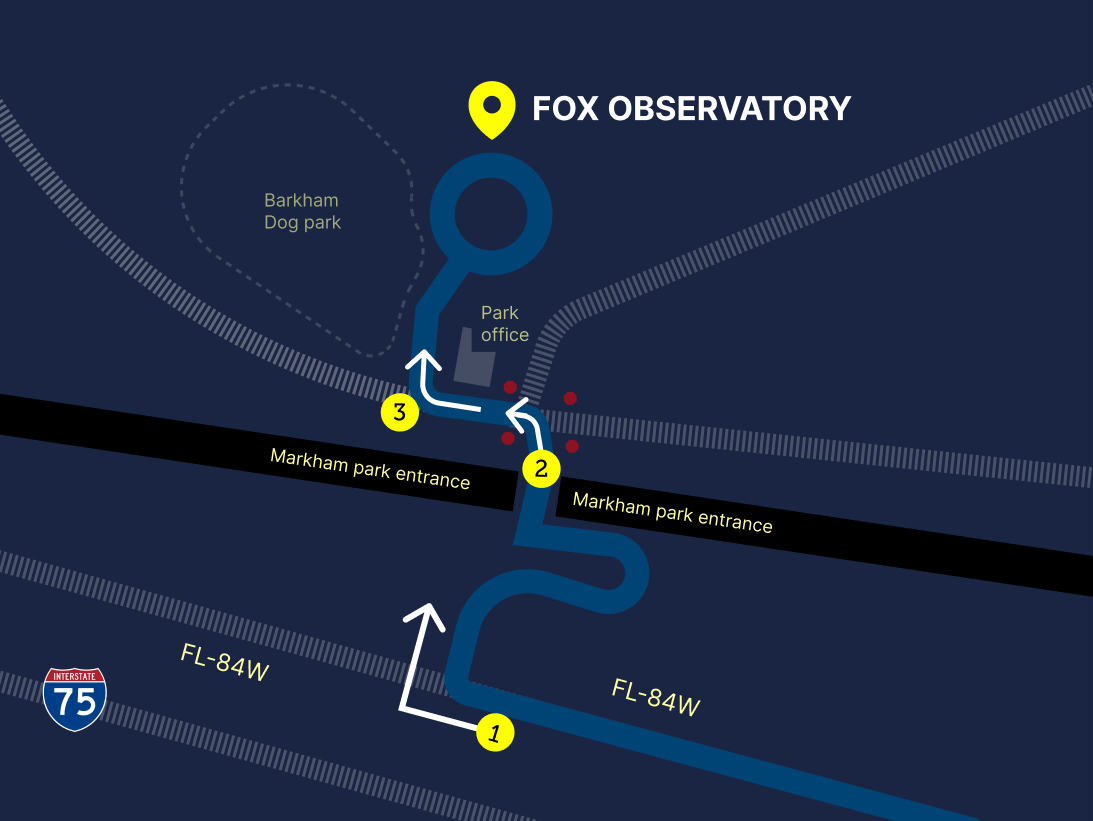
Find us in the park >
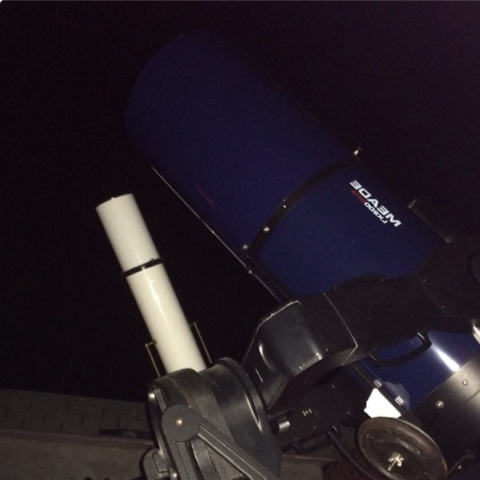
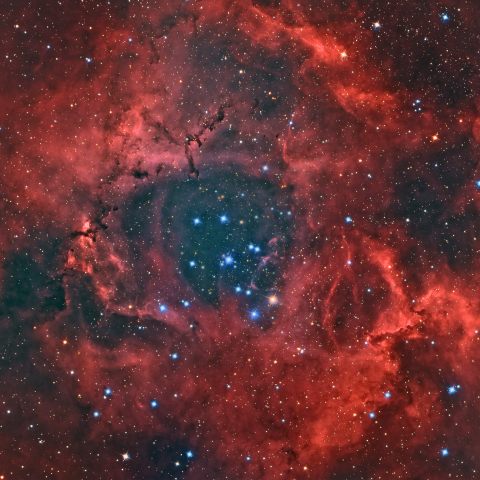
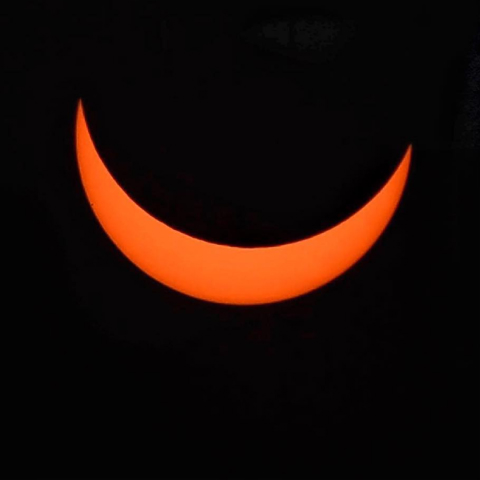
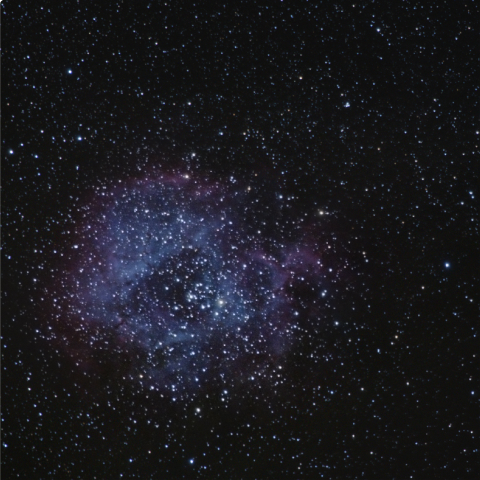
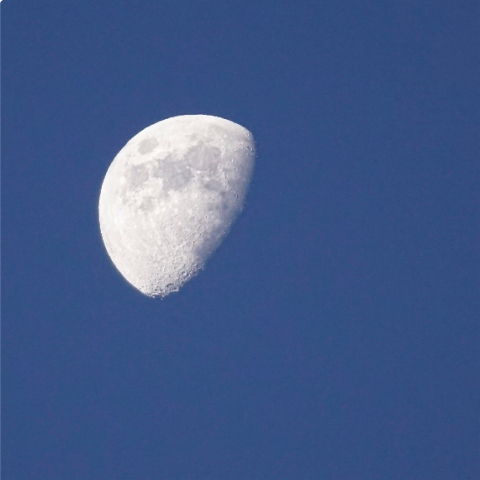
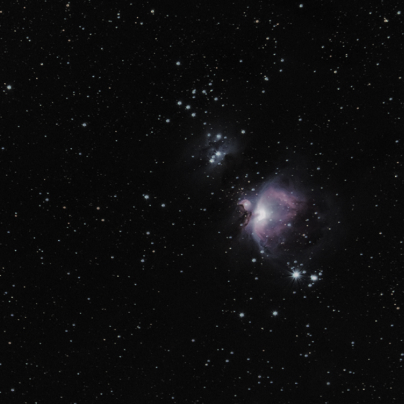
Our telescopes will focus on some of the coolest sights in the sky.


Whether you're new to stargazing or have been enjoying the night sky for years, our club has plenty to offer. From special events and resources to hands-on observing aids, we've got something for everyone. We love when members get involved in our activities, helping us all learn and enjoy astronomy together.
SFAAA exists because of our members. Please consider becoming a member. Signing up is quick and easy.
General
Stellar
Galaxy
Universal
Come join us and start your adventure with the stars!
SFAAA keeps members connected through our Google Groups. Here, you can plan spontaneous stargazing trips, exchange news, ask questions, and talk about your astronomy experiences. Being a member also means you get special access to the 'The Meridian', our colorful, monthly newsletter.
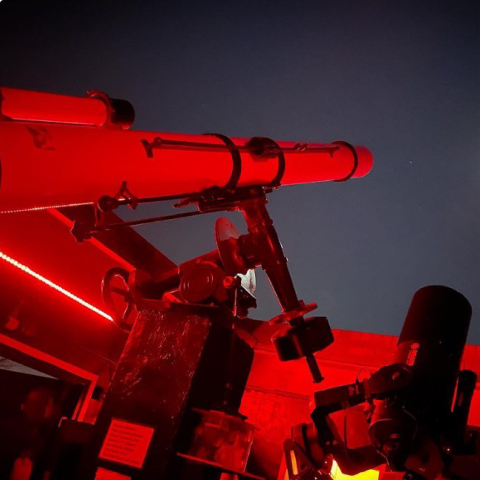
When you join SFAAA, you'll get to use the observatory on members-only nights. After six months and some training, members can be observatory certified.
Our Saturday Night Public Viewing is a fun time to volunteer, teach visitors about the stars, and enjoy the night sky together (broward county background
check is needed, mandated by broward county).
SFAAA has been a part of the community since 1966 and is based in Markham Park at the Fox Observatory. We welcome everyone to our monthly meetings, which take place at the observatory on the first Thursday of every month at 7:30 pm.
1. Make a right turn from FL-84 to the park entrance and enter the park – there is no fee to enter after dark
2. Make a left after you pass the entrance on the 4-way stop
3. Make a right at the first lane, before the dog park. You will see the red lights of the observatory
4. Please be mindful and don't leave your headlights pointed at the observatory
Address: 16001 West State Road 84,
Sunrise, Florida 33326
Phone: (954) 384-0442